
Install & Login
Install CloudPLAY Softphone on Windows or macOS and sign in.
Follow these steps to install and sign in to CloudPLAY Softphone on your computer.
Install the app
Your IT team provides the desktop installer (Windows or macOS) — usually via a company portal, deployment email, or download link. Only install from sources your organisation approves.
- Download and run the installer.
- Follow the on-screen prompts.
- Open CloudPLAY Softphone from the Start menu (Windows) or Applications (macOS).
- Allow microphone (and camera if you use video) when prompted so calls work correctly.
Keep the app running
Leave Softphone signed in while you need to receive calls. Use Exit (stay logged in) rather than Logout if you only want to close the window.
Sign in
Username and password
- Open CloudPLAY Softphone.
- Enter your username and password.
- Click Login.
Usernames are often a short server prefix plus your user ID (your IT team will give you the exact value).
Passwords are typically at least six characters and may require uppercase, lowercase, numbers, and special characters (for example E@com123).
Language
Before logging in, use Select Language to choose your preferred display language. Multiple languages are supported.
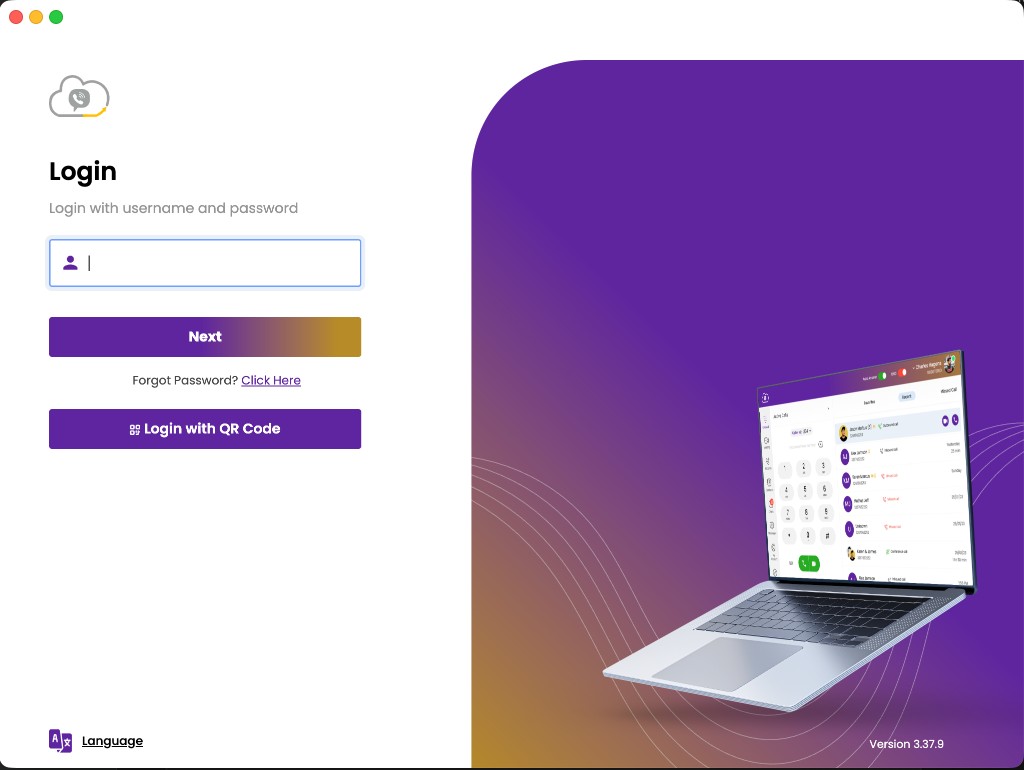
Forgot password
- Click Forgot password on the login screen.
- Enter your user ID and click Continue.
- Open the reset link sent to your registered email and follow the instructions.
After login
When sign-in succeeds, you see the dashboard (home screen) with the dial pad, contacts, call history, and status controls (DND, Auto answer, and account status).
See App features for a tour of the home screen.